Reviewing America Flag Embroidery for Real Projects
As a designer who has spent countless hours digitizing and stitching out patterns, I approach every new machine embroidery design with a mix of curiosity and skepticism. We have all been there: you download a file that looks crisp on the screen, only to find it puckers the fabric or loses its shape once the needle hits the cloth. Recently, I had the chance to evaluate the America Flag Embroidery design, and I wanted to share my practical insights for fellow crafters, Etsy sellers, and apparel decorators.
This isn’t just about whether the colors are red, white, and blue. It is about how this specific embroidery file behaves in the real world. Whether you are running a small shop product line or creating a one-off personalized gift, understanding the technical personality of a design is crucial. Here is my breakdown of how this patriotic motif holds up under the presser foot.
First Impressions and Visual Personality
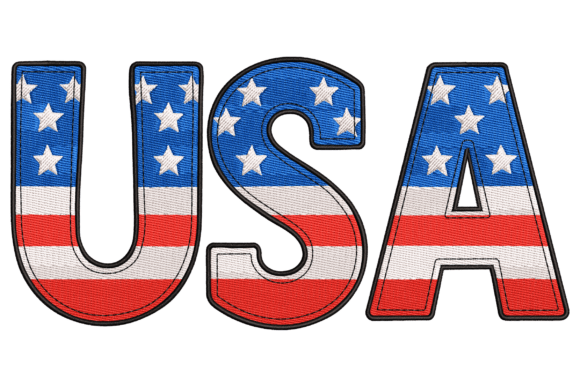
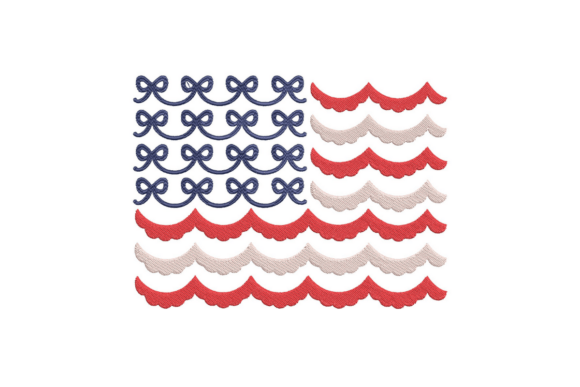
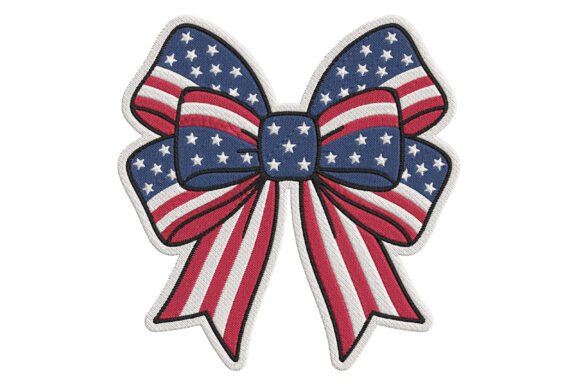
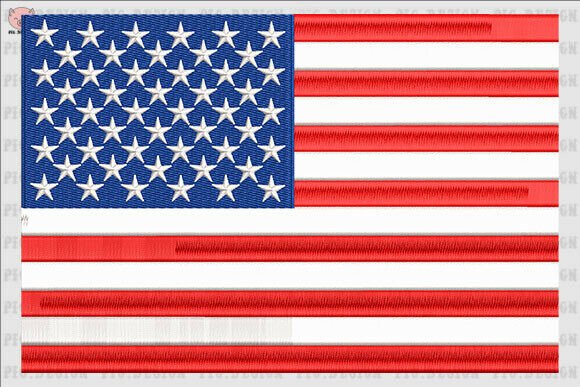
The first thing I noticed when loading the America Flag Embroidery into my editing software was the balance between detail and stitch efficiency. Patriotic designs can often fall into two traps: they are either too simplistic, looking like a child’s drawing, or overly dense, turning into a stiff cardboard patch on soft fabric. This design strikes a middle ground. The layout respects the iconic proportions of the flag while adapting them for the limitations of thread and fabric.
The mood it creates is classic and respectful. It does not rely on gimmicky fonts or excessive embellishments, which makes it versatile. For a designer, this clean aesthetic is a win. It means the design can sit comfortably on a high-end boutique item without looking cheap, yet it remains recognizable enough for a casual craft fair product. The visual personality suggests reliability and tradition, which aligns perfectly with projects intended for North America markets where this symbolism carries significant weight.
Real-World Application: The Tote Bag Test
To truly judge an embroidery project, you have to stitch it out. I decided to test this design on a canvas tote bag, a staple for many small business owners. Canvas is forgiving, but it also reveals issues with tension and density. I used a medium-weight cut-away stabilizer to ensure the fabric didn’t distort during the stitching process.
The result was impressive. The fill stitch areas covering the stripes were uniform, without noticeable gaps or excessive pulling. The stars, which are often the hardest part of any flag design due to their small size and sharp points, came out crisp. I did not see the "bird nesting" or thread breaks that sometimes plague intricate digital embroidery files. For an Etsy seller, this reliability is key. You do not want to waste hours re-stitching a batch of ten bags because the design failed on the third one.
I also considered how this would look on other items. For sweatshirt embroidery, the design’s scale works well on the left chest or as a larger back piece. On a fleece or cotton blend, the texture of the thread adds a nice tactile dimension that printed graphics simply cannot match. However, I would advise caution with very thin fabrics. If you are planning to use this for baby embroidery on a delicate onesie, you must use a soft, tear-away stabilizer and potentially reduce the stitch density if your machine allows edits, to prevent stiffness against sensitive skin.
Navigating Fabric and Hoop Constraints
One of the most critical aspects of using any digital embroidery file is knowing where it fits physically. While the description mentions it is suitable for clothing and home décor, you need to check the specific hoop size requirements before purchasing. If you own only a 4x4 inch hoop, ensure the design dimensions fit within that frame with adequate margin for clamping.
I found that this design performs best on stable, woven fabrics. When I tested it on a stretchy jersey knit for a custom apparel order, the results were acceptable but required extra care. Using a water-soluble topping helped keep the stitches from sinking into the pile of the fabric, ensuring the thread colors remained vibrant and distinct. For curved surfaces like caps, the design’s flat nature works well, but you must use a strong backing stabilizer to counteract the curvature of the hat frame.
Dark fabrics present another challenge. The white sections of the flag need to pop. If you are stitching on navy or black, ensure your white thread is high-quality polyester or rayon with a slight sheen. Matte cotton thread might look dull and fail to provide the necessary contrast. Always test your thread color combinations on scrap fabric first. What looks good on a monitor can look muddy in real life if the lighting is poor or the thread quality is low.
Commercial Viability and Brand Consistency
For those of us running a craft business, the end goal is a finished product that sells. The America Flag Embroidery lends itself well to seasonal peaks, such as Fourth of July, Memorial Day, and Veterans Day. But because the design is not overly cluttered, it can be sold year-round as part of a classic Americana collection. This versatility increases its value as a design asset.
When creating printable mockups for your online store, this design photographs well. The clear lines and distinct color blocks translate nicely into digital previews, helping potential buyers visualize the final product. Whether you are selling embroidered patches, aprons, or pillow covers, the professional look of the stitching builds customer trust. A sloppy stitch-out can damage your brand reputation, but a clean, well-executed design like this one reinforces the perception of quality.
It is important to note that while this design is robust, you should always confirm the licensing terms. Some creators allow unlimited sales of finished physical items, while others may have restrictions on digital redistribution or large-scale commercial embroidery operations. Never assume; always read the license included with your purchase.
Practical Designer Notes for Best Results
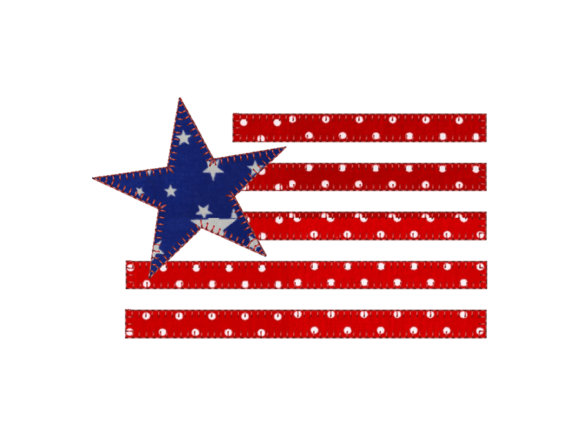
To get the most out of this applique design or standard fill version, keep these technical tips in mind:
- Stabilizer Selection: Match your stabilizer to your fabric. Use cut-away for knits and stretchy materials, and tear-away for stable wovens like cotton or linen.
- Needle Choice: Use a fresh embroidery needle. A size 75/11 is generally safe for most medium-weight fabrics, but switch to a ballpoint needle for knits to avoid snagging fibers.
- Tension Check: Run a test stitch-out to check your upper and bobbin tension. The bobbin thread should not be visible on the top side of the design.
- Detail Inspection: Zoom in on the star field in your software. If the points look too sharp or crowded, consider simplifying the path slightly if you have editing skills, or ensure your machine is in peak condition to handle the direction changes.
- Wash Testing: If you are making items that need frequent washing, such as kitchen towels or baby clothes, wash your test sample to ensure the threads do not bleed or shrink disproportionately to the fabric.
In conclusion, the America Flag Embroidery is a solid addition to any designer’s library. It balances aesthetic appeal with technical practicality. It is not just a graphic; it is a functional tool for creating meaningful, high-quality handmade products. By respecting the material constraints and preparing properly, you can turn this digital file into a standout feature in your next collection.